How to do Transitions on InShot – Beginner’s Guide
There are many reasons why you would want to use transitions in your videos using InShot. Transitions can help to make your videos look more professional, and they can also help to make your videos flow more smoothly from one scene to the next.
Transitions can be used to emphasize certain aspects of your video, or they can be used simply to make your video look more polished. No matter what your reasons for using transitions, inShot makes it easy to add them into your videos.
What Are Transitions and Why Use Them
A transition is a signal that marks a change in scene or an emotional shift. Transitions can be as simple as a character turning to look at something off screen, or cutting to black to signify the end of a scene. In film and television, transitions can help establish the passage of time, or signal a change in location.
Transitions can also be used to convey information about a character’s emotional state. For example, if a character is looking off screen with a sad expression, we might cut to what they’re seeing: their loved one being embraced by someone else. This type of transition is called a match cut, and it can be used to great effect.
In general, transitions are important because they help keep the viewer engaged by providing visual interest and helping to clarify the story.
How to Add Transitions In InShot
Adding transitions to your videos can help them flow more smoothly and give them a professional look. Here’s a step by step guide on how to do it in InShot Pro.
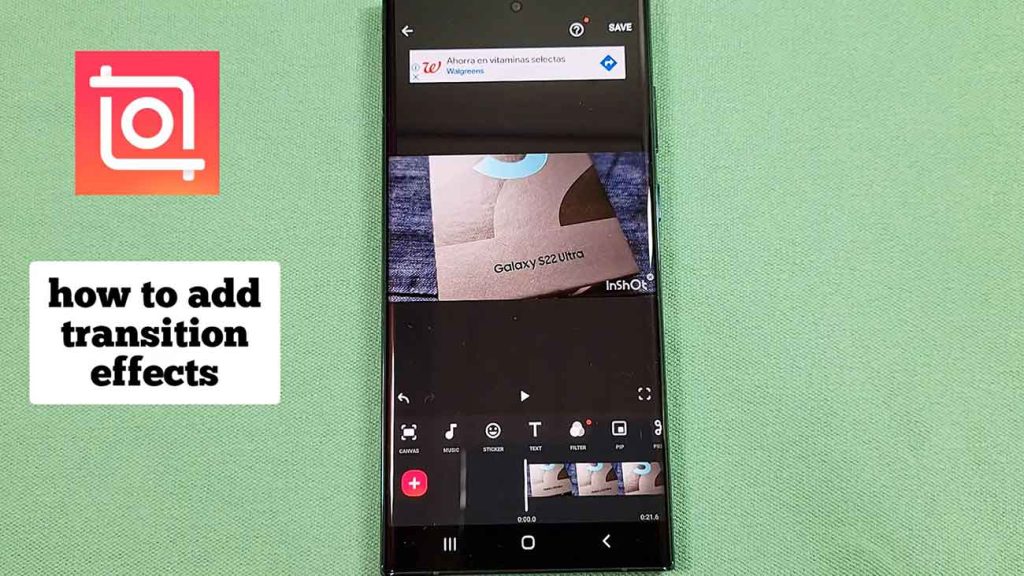
- Open Inshot and import the video clips you want to use.
- Tap on the “Transitions” icon at the bottom of the screen.
- Choose the type of transition you want to use between each clip.
- Tap on the “Apply” button.
- Export your video when you’re finished.
The Different Types of Transitions Available
There are many different types of transitions available on Inshot Pro. You can choose from a variety of options to best suit your needs. Some of the most popular transitions include:
Fade: This transition will gradually fade your video in or out.
Dissolve: This transition will make your video appear to dissolve into the next one.
Cut: This is the most basic and commonly used transition. It simply cuts from one video to the next.
Zoom: This transition will make your video appear to zoom in or out while transitioning to the next one.
Iris: This will create a circular shape that will expand or contract to reveal the next video. Glitch: This transition will distort your video as the next one gradually fades in.
How to Customize Transitions
There are a few different ways to customize transitions in InShot Pro. The first way is to select a transition from the “Transitions” tab in the main menu. This will bring up a list of all the available transitions. Simply click on the one you want to use and it will be applied to your video.
Another way to customize transitions is to use the “Customize” option in the “Transitions” tab. This will allow you to change the duration, color, and other settings for each transition. Simply click on the transition you want to customize and make your changes.
Conclusion
As you can see, Inshot is a great tool for creating transition effects for your videos. With a little practice, you can create smooth, professional looking transitions that will take your video editing to the next level.